
To clean your air hockey table, turn on your table’s air fan. Next, use a vacuum to suck up the dust and dirt from the clogged air holes on the surface. Using a wet microfiber cloth, wipe off and clean any remaining dirt. Lastly, grab a fresh towel and scrub until the table is dry.
Air hockey tables are a lot of fun, and games can get intense and exciting when you are a competitive person. But, of course, with all this adrenaline running through your veins, there is always the possibility the puck will stop moving.
Another situation you could face is the puck still moves but does so very slowly.
Most times, the source of the two problems above comes from neglect by the air hockey table owner. If they do not take the time to clean the table when necessary, they will experience these issues along with many others.
In this guide, you will learn how to clean an air hockey table one step at a time so it continues to function and stay in mint condition.
Why Should You Clean Your Air Hockey Table?
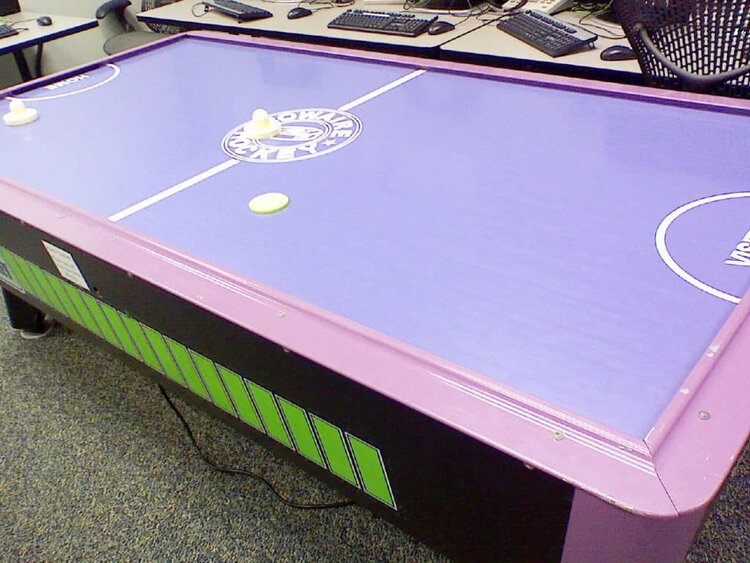
For a hockey table to work correctly, it must have air distributed evenly throughout the table.
The air comes from small holes located all over the table’s surface. You must clean the holes after every game because they accumulate dirt that obstructs airflow.
It’s also essential to keep the surface itself immaculate, so nothing keeps the puck from moving on the table. Small pieces of dirt that are not easy to see will cause the puck to glide slower.
Lastly, if the surface has grime large enough, the puck could hit it and fly off the table. In such cases, we’ve seen players get hit in the face, and injuries are substantial.
Failure to maintain your air hockey table when you see dust or grime on it will break the table’s surface with deep scratches.
Of course, it makes sense that you should never let this happen since you invest a sizable amount of money when you buy a table and don’t want to lose that investment.
People frequently ask how often they should clean their air hockey table to keep it performing smoothly. While there is no definitive answer, and everyone has their own personal preference, the general rule is one time per week.
Cleaning your table the incorrect way is like not cleaning it at all.
Read the following section carefully to know what to do and which strategies to ignore.
How to Efficiently Clean Your Air Hockey Table
After reading each step given below, stop and follow whatever directions you read through since practice does make us perfect.
What You’ll Need
- Microfiber towel
- Isopropyl alcohol
- Drill bit
- Tabletop Polish
Instructions
Step 1: Activate the Hockey Table Fan
You must turn on the fan while cleaning your air hockey table, and don’t unplug it until you finish the job.
Keeping the fan on blocks any dust or fluids from getting into the air holes and causing them to be clogged. Clogged holes restrict airflow and generate many problems.
Step 2: Vacuum the Air Hockey Table
Vacuums are great at getting rid of dust and anything else that does not belong on your table.
Never forget to keep the nozzle of your vacuum hose above the surface but don’t ever let it make contact. If you allow the nozzle to touch the table, damages are possible.
Do not miss a single inch when vacuuming the table while keeping in mind to glide across it softly. Lastly, give the area with air holes a little more time with the vacuum to make sure every particle of dirt is gone.
Step 3: Scrub the Table
Before starting step 3, ensure the air fan is still on. First, start by cleaning the surface with a dry microfiber cloth.
The next part of this section is called the Scrubbing stage, where you will need another small towel and a cleaning liquid. Some people only use regular water, and it’s okay, but it won’t do the job better than using a cleanser with alcohol as an active ingredient.
Our favorite alcohol-based liquid is isopropyl because it kills bacteria efficiently without ammonia.
Any liquid with ammonia will destroy your table, and we would never recommend using it on your air hockey table.
Now, you can add a few drops of isopropyl alcohol to your cloth directly but never put it on your table. Only a few drops are recommended because then it can dry fast, and you can move on.
While scrubbing, put some muscle into it when you remove the pieces of dirt that won’t come off without a fight. Don’t ignore the areas that most people won’t clean, like the outside of the table and the legs that keep it standing.
Optional Bonus Tip: The next part of the table to scrub is optional, but if you want to be thorough, go ahead and do it. This part is called the inner side rails; if it’s dirty, the puck will not bounce off it accurately, which will hurt your performance.
Step 4: Clear Up the Air Holes
Your Vacuum cleaner will not be enough to unclog every single air hole.
So after step 2, you need to use a different tool for the holes that still have grime and dust inside.
Go to Home Depot and buy a 1/16 drill bit for your drill to make the air holes slightly bigger and remove remaining dirt particles. Next, carefully insert the drill inside every clogged air hole without pushing the dirt deeper inside.
You must perform this step without distractions, so your hands don’t slip and damage the table.
Step 5: Polish the Surface of the Table (Optional)
This step is not necessary, but it does help enhance performance on your air hockey table by making the surface smoother. A smoother table equals more fun, and its shelf life is extended.
First, take a polish meant for the surfaces of air hockey tables and administer it equally across the tabletop. If your air hockey table is made of wood, prefer using furniture wax.
Always remind yourself to buff the corners of your table and the legs even though you technically don’t play on them.
After the wax you applied is dry, grab a washed towel and wipe it again to continue buffing in the polish.
Continue this step until it is as glossy as you want it to be. A great addition is silicone spray because it leaves your table so shiny that you can see your face when looking at it.
Step 6: Sand Down the Puck
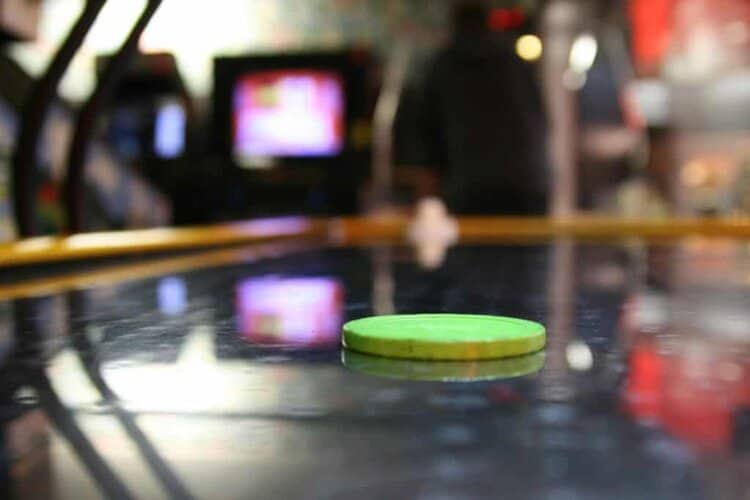
If you are playing with someone and you still feel the puck is moving slowly, the culprit might be the puck and not the table.
This issue is normal because it gets worn out when you use it often and your matches are aggressive.
To improve the movement of your puck, you can use sandpaper to softly sand your puck until it starts to move more freely on the table. It might take a few tries, but this will work as long as you follow the initial steps to make sure the problem is not your surface.
FAQs on How to Clean Your Air Hockey Table
How long do air hockey tables last?
Air hockey tables can last anywhere from 5 to 8 years as long as you take the time to clean them correctly every single week without fail. Some models also have great warranties if your table breaks.
How much does an air hockey table cost?
On the lower end of the price spectrum for air hockey tables, expect to pay a little less than $100 for a beginner model. For more professional tables, you will have to shell out over $1000 to get anything decent.
Can you put your air hockey table outside?
Yes, you can keep your air hockey table outside. If this is something you would like to do, buy the highest quality tabletop cover to protect it from the elements.