
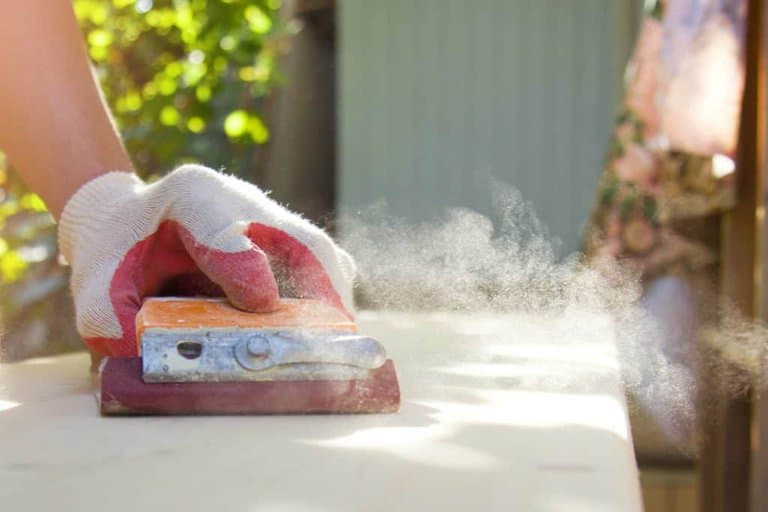
Yes, sanding is necessary because it helps remove unwanted marks and gets a smooth surface before placing the next coating. This depends on the kind of stain used. For this reason, you are advised to know the different types of stains and whether it requires sanding or not.
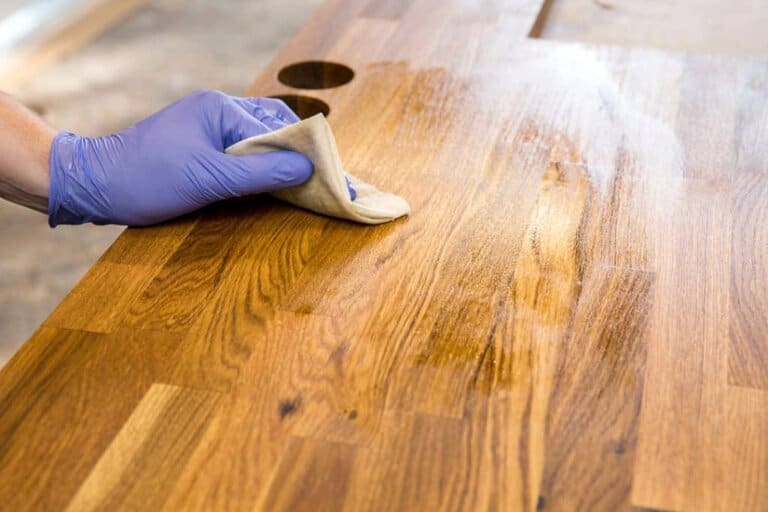
Let’s face it, we all want our final woodwork products to come out appealing and attractive. To achieve this, staining surely comes in handy in this regard.
If the coatings of the stains do not adhere properly, we might never get the desired result. So what do we do?
As an individual who has been there, done that, I will be sharing what you need to know about stains that require sanding and those that don’t need it in this guide.
I’ll shed light on some top myths about sanding, the need for sanding sealers and the benefits of sanding stain coatings that require it. Let’s begin!
Stains that require sanding
Below are four stains that will require sanding based on what we have personally used.
Water-based stain
Given that the water content within the stain raises the wood grain, you need to sand it down to get a smooth surface and appealing finish. If you use a water-based stain, you need to sand between every coat apart from the topcoat.
Water-soluble dye stain
Using this dye requires dissolving the powder in water. Users need to sand between the coats. This could be a light sanding.
To complete an impressive job, ensure that the powder stain is dissolved in water in one ounce per one-quart of water ratio. You may need to add extra powder for a deeper pigment.
Oil-based stain
Here is another stain that requires sanding, especially while preparing the wood. Using oil-based stains requires prolonged drying, which allows dust nibs and debris to settle on them. To remove the dust nibs and debris, it’s advisable to sand between the coats of the oil stain.
Polyurethane stain
Failure to sand between layers of polyurethane coatings may trap in dust and bubbles. Also, the subsequent coatings may not adhere properly as polyurethane tends to be slippery. Consider sanding the coatings to help the layers fuse together as appropriate.
Stains that don’t require sanding
Not all stains will require sanding but it’s recommended you carry out a little sanding for a perfect finish.
Gel stain
Using gel stain doesn’t require sanding all through the coatings before you can get good adhesion. It’s only recommendable to sand the wood during the preparation stage. Despite not sanding the coatings, gel stain will give you a paint-like consistency while sitting nicely on the surface.
Lacquer stain
With Lacquer stain having the ability to melt into the previous layer of stain and adhere nicely, you don’t need to sand the coatings. Even if there is any roughness on the surface, wiping the surface gently with a clean cloth will smooth it out.
Metal-complex dye stain
Many use metal-complex dye stain because it is strong and durable for dense wood. Also, it is an impressive dye for outdoor finishes as the presence of copper and chromium makes the stain more resistant to fading.
More importantly, metals present in metal-complex dye do not raise grain. Thus, users do not need to sand between the coatings.
Sanding – top myths you should avoid
Applying coating is enough to clear dents
Taking this approach will only give you temporary satisfaction. Better still, you should consider a proper repair during your project with a full sanding and refinishing. This will really help in getting a uniform result that will last for a long time.
Sanding is like walk in the park
Although having the right equipment is needed to achieve desired results, consider getting a trained professional to carry out the work for you.
Sanding sealer – why you need it?
This is a clear liquid base finish that is used on bare natural wood or any uncoated wood. Sanding sealer is best used to improve the condition of subsequent coatings by sealing the wood pores.
From sealing wood knots, sealing pores for smoother finishes, coating bare hardwood floors, and applying on furniture and cabinet, sanding sealer will come in handy if you are planning for your next woodwork project.
Sanding sealer should be used after sanding down the wood to the bare finish and prior to the application of the top coating. Refrain from using sanding sealer on a stained surface as the sanding process may scrap off the stain.
Remember to take necessary precautions during use as it’s a toxic substance, which can be absorbed through skin. So, endeavor to wear latex gloves and protective clothing. Also, put on breathing protection so as not to inhale dusts that are airborne.
Benefits of sanding between coats of stains
If you are wondering whether the cost and effort required for sanding between your coatings are worth it, read the benefits below:
- By sanding coatings of stain, the chances of splinters occurring is reduced. It isn’t unusual to see splinters emerge when the protective finish coating wears off from the floorboards. Hence, sanding is indirectly a form of protection.
- Sanding helps get rid of dust and bubbles that could have been trapped in the lower coats. By removing the specks of dust, it makes your work neater, smoother, and more appealing.
- Although brush marks depend on the Polyurethane products used, sanding can help get rid of them if they emerge. Simply sand over the brush marks lightly, then reapply the final coating.
FAQs for Sanding Between Coats of Stain
What kind of sander should I use for larger pieces?
Use a belt sander starting with 80 to 100 grit sandpaper; then, switch to 150-grit to get rid of any leftover finish and smooth out the surface.
Is it advisable to test out the color before painting?
Yes. testing your color helps determine whether the furniture hue will blend nicely with your room. So check it out to ensure you are getting the desired hue.
Why do I need a tack cloth while sanding?
Having tack cloth close is useful for removing dust. Simply cut the cloth into a small piece and run it over your woodwork to collect the dust.
