
Take 2 plastic sheets and cut them out into triangles. Glue down the pieces to the corners of your bathtub or shower with a silicone-based adhesive, and you’re done!
Shower splash guards come in different sizes, materials, and designs. They’re ideal for keeping the water inside your bathtub or shower and enhancing your bathroom’s look.
In this article, we’ll teach you how to make your own shower splash guard that you can glue down to the corners of your bathtub or shower.
You can either make corner splash guards out of plastic sheets or tiles. Below, we’ll share step-by-step guides for both materials, so let’s dive right in.
What’s A Splash Guard?
A splash guard, also known as a shower screen, will not only keep the water inside your shower or bathtub but also add a modern feel to your bathroom.
It’s what it sounds like. Splash guards guard water splashes, hence preventing floor damage. The best part? Full-size splash guards give the illusion of a larger area.
On the other hand, small corner splash guards will only protect your floor from water damage. They’re affordable, easy to install, and super practical.
How Does A Splash Guard Work?
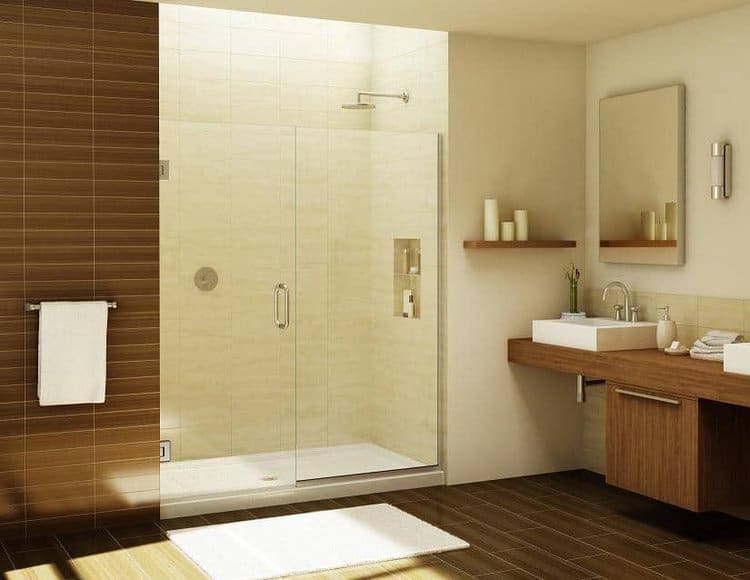
A splash guard works in a very simple way. It’s a glass or plastic panel addition to a bathtub or shower installed against the bathroom wall.
Full-size splash guards have different ways of opening. Some models feature sliding doors, while others work as a stand-alone piece attached to one side of the wall.
On the other hand, small splash guards eliminate bath or shower water that shower curtains can’t handle.
They’re installed at either end of the bathtub or shower and prevent water splashes, saving on expensive repairs caused by water leaks.
How to Make Your Own Shower Splash Guard Out of Tile
You can make shower splash guards out of tile, glue the pieces on top of your tub at both ends and stop the water that would pass the ends of your curtains.
Store-bought shower splash guards aren’t made of tile. They’re typically plastic, but plastic splash guards don’t match the design of your bathroom.
Consider building tile splash guards for a more decorative design by following these easy steps:
Step 1
First, gather all the necessary tools, including tile scribe, thin wire, wood, sandpaper, saw, mortar, fork, construction adhesive, grout, bathroom caulk, grout adhesive, and a small, round paintbrush.
Step 2
Take 2 tiles and draw diagonal lines from one corner to the other to split them into triangles.
Step 3
Using a tile scribe, cut the tiles along the diagonal lines.
To make the cutting process easier, place a straightedge against the line and score the tile, applying pressure.
Put a tight, straight wire beneath the tile, aligned with the cut, and push down on both sides of the tile to break it in half.
Step 4
Prepare 2 triangular wood blocks to fit the tiles. You can easily make these blocks by cutting a square out of a piece of wood.
Create the square about 3/8-inch bigger in both ways than the tiles, then cut it down the middle to get 2 triangles. Make sure you sand the cut ends as well.
Step 5
Take measurements of the cut side of one of your blocks, and using the scribe, cut 2 rectangular tile pieces to match the dimensions.
Step 6
Cover the backs of your tile with mortar. Using a fork, rough up the mortar and push the tiles together, leaving the square parts of the blocks clean.
Give the mortar time to harden.
Step 7
Attach the tiled blocks to the corners of your tub using strong construction glue. Let the glue dry completely before spreading the grout into the spaces between the tubs.
Step 8
Apply the grout and wipe your new splash guards with a wet sponge to clean any excess grout. Then, let it dry.
Step 9
Apply a bead of caulk along the seam where the edges of your splash guards meet the tub. Run your finger down the caulk to smoothen everything out.
Step 10
Let everything fully cure, then apply a grout sealer.
How to Make Your Own Shower Splash Guard Out of Plastic
Making shower splash guards out of plastic isn’t as difficult and time-consuming as making them out of tile. So, if you’re looking for a quick fix, follow the next steps.
Step 1
Gather all the necessary materials, including plastic sheets of your choice. Opt for a thickness that you think will get the job done. Also, obtain a knife or saw, depending on the thickness of your sheets. And lastly, get a silicone-based adhesive.
Step 2
Take 2 sheets and draw diagonal lines from one corner to the other to split them into triangles.
Step 3
Cut the sheets along the diagonal lines using a sharp knife or saw.
Step 4
Make sure the pieces of sheet fit the shape of your tub or shower. If they’re the right fit, you’re ready for the next step.
Otherwise, cut the pieces until they perfectly fit the corners of your tub or shower.
Step 5
Make sure you clean the places where you will glue down the shower splash guards with a wet sponge and soap or rubbing alcohol.
Once you’re done, let the surface dry before applying the glue and the splash guards. Finally, make sure you protect the sharp edges with a rubber seal strip.
8 Ways to Contain the Water Inside A Shower
Water escaping your shower or bathtub can cause floor damage, so make sure you use one or more of the following strategies to prevent this from happening.
1. Slope the Floor
Sloping the shower floor in the way of the drain isn’t only helpful but also necessary to lead the water toward the drain.
The slope shouldn’t surpass 1/8-1/4-inch per foot. Otherwise, it will be difficult for a person with a wheeled mobility device to sit level while showering.
2. Linear Trench Drain
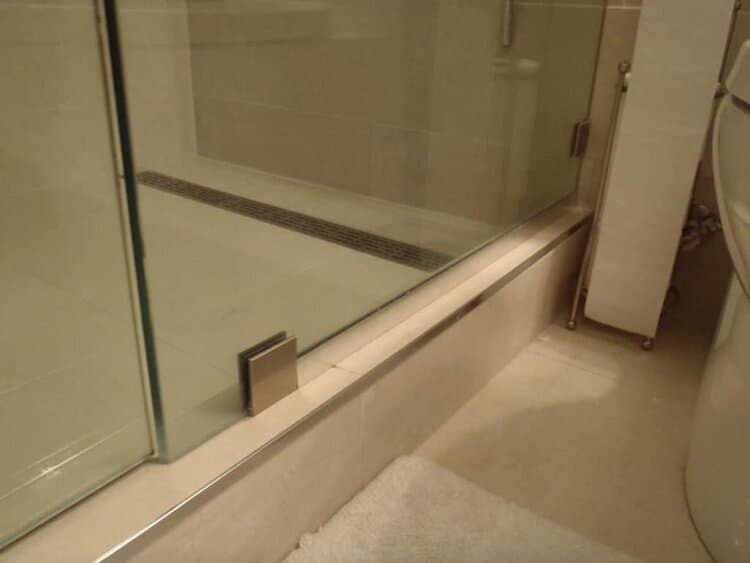
You can also install a linear trench drain. It’s usually a long linear-shaped drain that lies at the same level as the shower floor and collects the water.
3. Collapsible Rubber Threshold
Also known as a water dam, a collapsible rubber threshold can be located along the front edge of your shower stall.
It’s also suitable for people using wheeled mobility units, as it collapses down when they roll over it, then goes back up to help prevent the water from leaking.
4. Long Shower Curtains

Opt for a weighted shower curtain or curtain made of heavy material. Make sure the length of the curtain matches the height of your shower and nearly touches the floor but doesn’t drag on the floor. Otherwise, mildew will likely build in the folds.
5. Shower Curtain Splash Guards
If you opt for shower curtains, make sure you install splash guards for extra protection.
They typically get attached to the shower curtain’s rings or hooks and hold curtains closer to the wall to prevent water from passing the curtain ends.
6. Shower Corner Splash Guards
As already established above, corner splash guards act as water stoppers.
They’re located in the corners at the juncture between the floor and the wall on both sides of the shower stall opening to prevent the water from getting to the floor.
You can easily glue or attach corner splash guards with a self-adhesive strip.
7. Shower Splash Clips
These clips will also prevent the water from getting out of your shower. They’re easy to install. Just attach the clips to the wall with a self-adhesive strip.
The next time you close your shower curtain, the ends of the curtain will be attached to the wall—thanks to the clips—and keep the water inside the shower.
8. Full-Size Shower Door

You can install a full-size shower door for full protection.
In our opinion, doors work better than any of the options above as they ensure a full enclosure. However, make sure you purchase shatterproof glass shower doors.
Although shower doors provide the best protection against water leakage, they also risk shattering if installed improperly or poorly designed.
FAQs on How to Make Your Own Shower Splash Guard
What are shower splash guards made of?
Shower splash guards come in different sizes and materials. They’re usually made of strong and clear plastic, but you can also find glass splash guards.
Where do you place a splash guard on a bathtub?
You should place the splash guard in the corner where the tub side meets the wall. The longer edge of the splash guard goes against your wall, while the shorter one sits on the tub.