
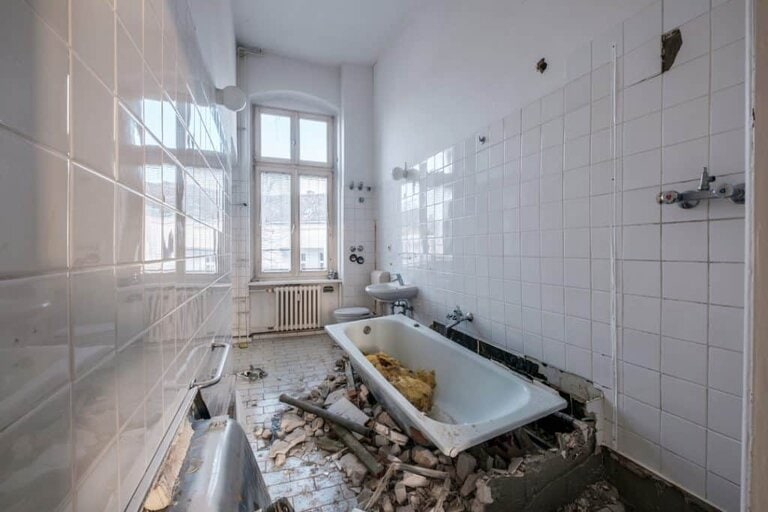
Removing a steel bathtub looks like a herculean task, but isn’t. Simply turn off the water supply, remove all the plumbing accessories, open up the wall space, and unscrew the bathtub from the adjacent walls and you’ll have it removed in no time!
Removing your steel bathtub opens up venues for fresh and new opportunities – a shower conversion, a new bathtub, or simply clearing up space for a countertop, vanity, or storage.
Unless you are thinking of going about a complete bathroom tear-out, removing your old steel bathtub is a delicate, careful process that allows you to preserve as much of the building material as possible.
A steel bathtub may look like it is impossible to remove. However, that is not the case. All you need is the right set of tools, to-the-point and easy to follow instructions, some elbow grease, and you would be good to go!
Let’s see how you can remove a steel bathtub in quick, easy, and simple steps.
Step-By-Step Guide on How to Remove a Steel Bathtub
When you remove a bathtub, you have to be careful since there are many challenges such as the weight and bulkiness of the tub, and damage to your floors and walls.
Many people think that it is a difficult, herculean task. That is not the case.
Here’s a brief yet thorough step-by-step guide on how to remove a steel bathtub.
Things You Will Need
- Screw Driver
- Nose Pliers
- Reciprocating Saw
- Pipe Wrench
- Chisel
- Safety Goggles
- Hearing Protection
Steps On How To Remove A Steel Bathtub
Follow the below steps as safely as possible.
Shut Off the Water Supply
Turn off the water supply. There will either be a shutoff valve, or an exposed water line running to the faucets, especially if you have a freestanding model. If not, then turn off the water to your bathroom and if that is not possible, then to your entire home.
Open the faucets to remove all the water in the pipes. When no more water comes out of the faucet, you can move on to the next step.
Remove all the Plumbing Accessories
Your bathtub has plenty of plumbing accessories such as a drain lever, faucet, shower diverter, handles, etc. Remove all of them very carefully and keep them aside.
Remove the Overflow Assembly
The next step is to remove the overflow assembly and disconnect the stopper. The overflow varies from bathtub to bathtub but generally consists of a plate and a couple of screws that hold the stopper lever. Unscrew the plate using a screwdriver.
Remove the lever hook from the linkage bar using your fingers. Unscrew and disconnect the stopper from the drain as well.
Remove the Drain Flange
With the help of nose pliers or, if you have access to one, a dedicated tool for drain flange removal. Twist the drain flange counterclockwise using the pliers, and pull.
Remove the Drain Pipe
If you have a freestanding tub, you can remove the drainpipe here as well. Use a pipe wrench and twist the drainpipe loose at a joint. If the joints are glued permanently, then you will need to cut through the drain pipe.
Get a reciprocating saw and cut through the drainpipe as close to the bottom of the tub as possible. For built-in tubs, you will have to access the drainpipe from below, usually through the basement or a crawlspace.
Open Up the Wall Space
Mark a point about 6 inches on the wall above the bathtub. Cut a strip of the wall horizontally to reveal the tub flange using a reciprocating saw. Be careful not to cut any wires or pipes present in the stud spaces.
If there are any screws that are securing the flange to the wall, remove them. If you have tiled walls, then you will have to remove individual tiles using a chisel. Remove the tiles and panels on the adjacent wall. Keep working until the studs are bare.
If there are some nails that are holding the bathtub and the studs together, then you have to remove them first. There are pins attached to the top rim of the bathtub. Use pliers to remove the nails.
Remove the Bathtub
Once you have removed the nails, you can easily pull the tub off. You have to protect your floor. If you have sheets of plywood, lay them down on the floor to keep them safe from any damage. Place the tub on the plywood.
As soon as you remove the bathtub, stuff a large cloth on the top of the drainpipe to block out the smelly, harmful sewer gases. Moreover, this will also ensure that you don’t drop anything into the pipes accidentally.
Salvage the Bathtub
Once the tub is out of the washroom, you can check the floor for any water damage and repair it as well. Moreover, remember that your trash might be someone else’s joy – therefore, don’t damage the steel bathtub while removing it as you can sell it to someone else if you don’t need them.
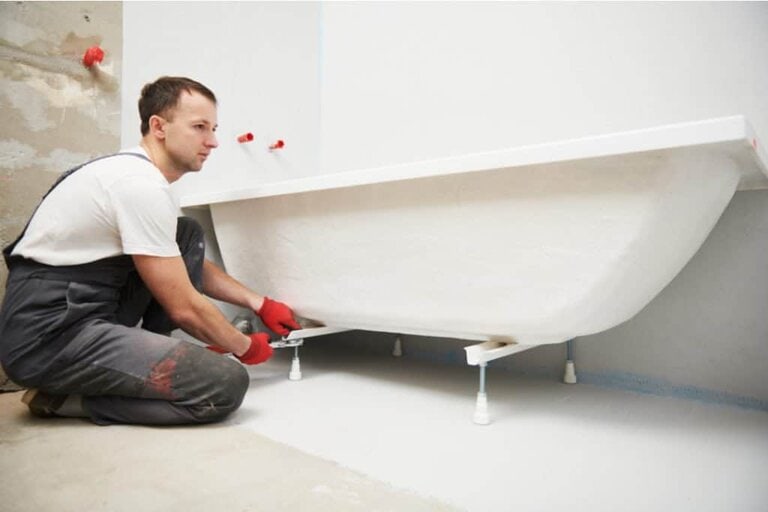
If you want to salvage the bathtub, then remove the feet of the tub by moving them counterclockwise. If they are rusted, spray them with rust-removing solvent. You can get someone to help you pull the tub off and carry it out of the washroom.
Voila! You have successfully removed a steel bathtub!

FAQs for How to Remove a Steel Bathtub
How can I remove rust from a steel bathtub?
You can use a solution of vinegar and lemon juice to remove rust from your steel bathtub. You can also go with chemical rust-removing solvents as well.
What safety considerations do I have to keep in mind while removing my steel bathtub?
You have to wear safety goggles and hearing protection. Place plywood sheets on the floor and cut off the electric supply to the area before breaking into the wall above and adjacent to the bathtub.