
Combine 1 cup of white vinegar with 1 cup of warm water to dilute the acidity of your main ingredient. Next, dip a microfiber cloth in the solution and wipe your vinyl record for 3 to 5 minutes in a circular motion. Lastly, wash it with fresh water, and all the dirt will disappear.
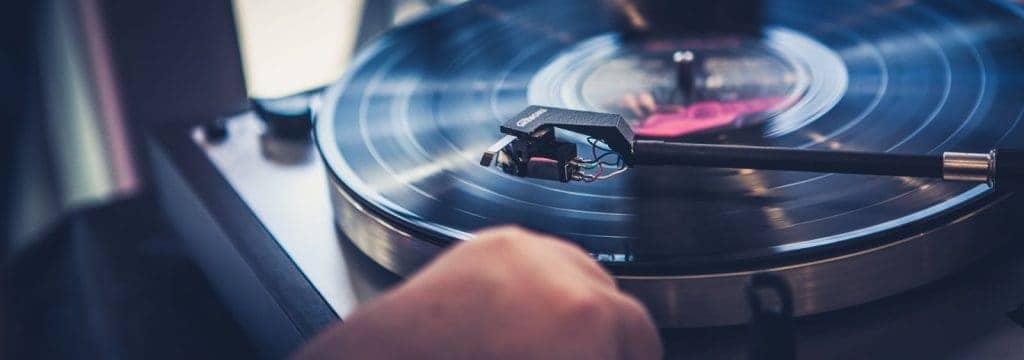
Every vinyl records fan faces the inescapable problem of figuring out the best way to clean their LPs.
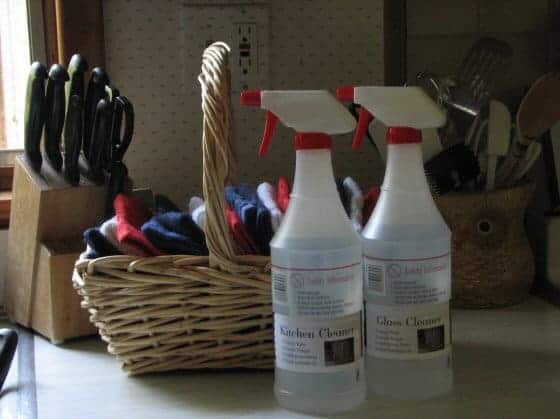
Most specialists recommend you buy commercial cleaning solutions like Simple Green All-Purpose Cleaner because it works well and is easy to find. Another widely popular option is vinegar since it’s affordable and perfect for those who prefer all-natural solutions.
But does vinegar work the way commercial options do? The answer is a resounding yes because it tears grime apart, eliminates dust, and dries in less than 2 to 5 minutes.
This guide will teach you how to clean your records with vinegar and the pros and cons of using this acidic option to preserve your LP collection.
Why Should You Clean Vinyl Records?
The reemergence of vinyl records as a trend fueled by nostalgic fans continues to pick up steam.
A lot of new records are being sold, but there are also many older ones on the market, which is why it’s expected that some of them will be dirty or poorly maintained.
There are 2 reasons why we think it’s in your best interest to clean your vinyl records:
- Better sound quality: When dust particles and grime are removed, your music will sound louder and more detailed.
- Dirt will spread: The dirty record you play will transfer its grime to the record player’s stylus. If this situation occurs, your stylus will share that filth with the next LP you want to hear.
Advantages of Using Vinegar
Vinegar is a powerful organic cleaner, and it has many advantages. We will discuss this in more detail below.
- Immediate effect: Add a few drops of vinegar to your vinyl record, and you will see the dirt start to break down on the spot. It can also remove fingerprints from oily chips and any other foods.
- Dries quickly: The drying process after wiping your record down takes only a few seconds so that you can get back to your songs fast.
- Affordable: White vinegar is less than half the price of a commercial cleaner and produces the same result for vinyl collectors cleaning their records.
- Antimicrobial properties: It kills any bacteria and keeps your LPs germ free.
- Non-toxic: You don’t need to wear a mask or latex gloves when cleaning with vinegar since the fumes are not harmful to your wellbeing or the surface of your skin. The culinary version of vinegar is also edible and used as a topping for many meals.
- Keeps vinyl records glossy: Vinegar will keep your LPs looking as good as the first day you purchase them.
- No damages: Combine it with the required amount of water this guide suggests, and your records will not crack or change colors.
Disadvantages of Using Vinegar
No matter what solution you pick to clean your records, each will come with its cons. Unfortunately, this rule also applies to white vinegar, despite being our favorite cleaning liquid.
- Aluminum records: A small percentage of records are made of aluminum, and because vinegar is highly acidic, it doesn’t mix well. Vinegar will eat away at an aluminum record until there is nothing left. If faced with this scenario, use only distilled water and your microfiber cloth.
- Has a pungent smell: Despite being non-toxic, the vinegar smell is unpleasant, and some can’t handle it. You can consider 2 solutions: wearing a mask and using essential oils to dilute the odor.
How to Clean Vinyl Records Using Vinegar

Following a few preliminary steps before starting the cleaning process with vinegar will increase your chances of success. These steps include the amount to use and in what order the steps should be to clean your records correctly.
What You’ll Need
- Warm Distilled Water
- Culinary White Vinegar
- PVA Glue Stick
- Microfiber Cloth
- Dishwashing Detergent (Optional)
- Small Bucket or Container
Instructions
- First, use a carbon brush to remove any dust particles off the surface of your Vinyl record. This step is beneficial for everyday cleaning, and cleaners don’t need to be used until you are ready for step 2.
Another reason for this step is to prevent loose dirt from smudging against the record and spreading over the surface.
- If there is still a ton of dust and dirt on your record, do not use the vinegar yet. Instead, put PVA glue on any area you see dirt or dust particles. They will cling to the glue stick until all particles are off Your LP.
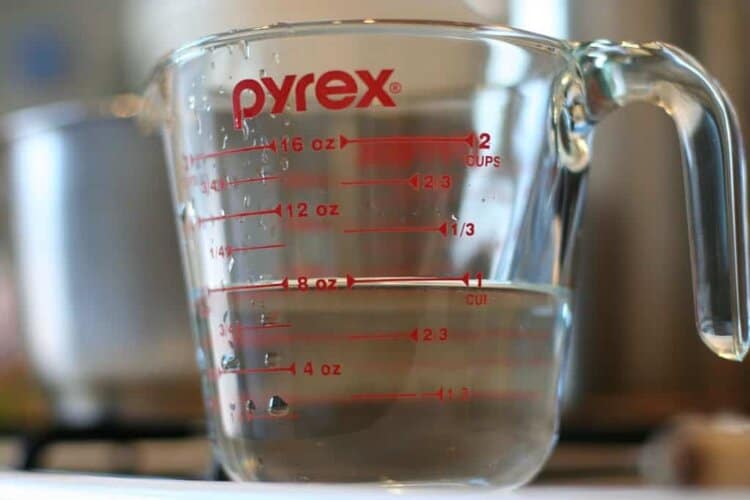
- Next, create your vinegar mixture by mixing 8 ounces of filtered water and 8 ounces of vinegar in a small bucket. We recommend an extra 2 to 3 tablespoons of dishwater detergent to make this solution more potent to get the job done faster.
Extra Tip: The distilled water should be warmed up but not so hot that it will damage your record. If it’s at room temperature but not cold, it’s also okay, and it’ll be ready to add to your vinegar mixture.
- Once your mixture is stirred, you are ready to clean your record. First, inspect it for any leftover debris from the previous step with the PVA glue. Then, use a microfiber cloth to wipe off the remaining dirt and oily stains.
Complete this task by giving it one more go with your carbon brush to get any pieces of lint that came off the cloth.
FAQs on Cleaning Vinyl Records with Vinegar
Will vinegar damage my vinyl records?
White vinegar is the best solution for cleaning bacteria and grime from vinyl records. The only thing you have to remember is always to dilute it with water to avoid damaging records.
How long can vinegar be used to clean vinyl records?
You can use vinegar to clean vinyl records as often as possible, and there are no set limits.
Why are all my records skipping?
When your song starts to skip repeatedly, you will know it’s time to clean your LP record. Follow the steps in the guide above, and you can return to listening to your song in peace.